
An Architect’s Guide to Slab on Grade (SoG) & Vapour Barrier Field Reviews
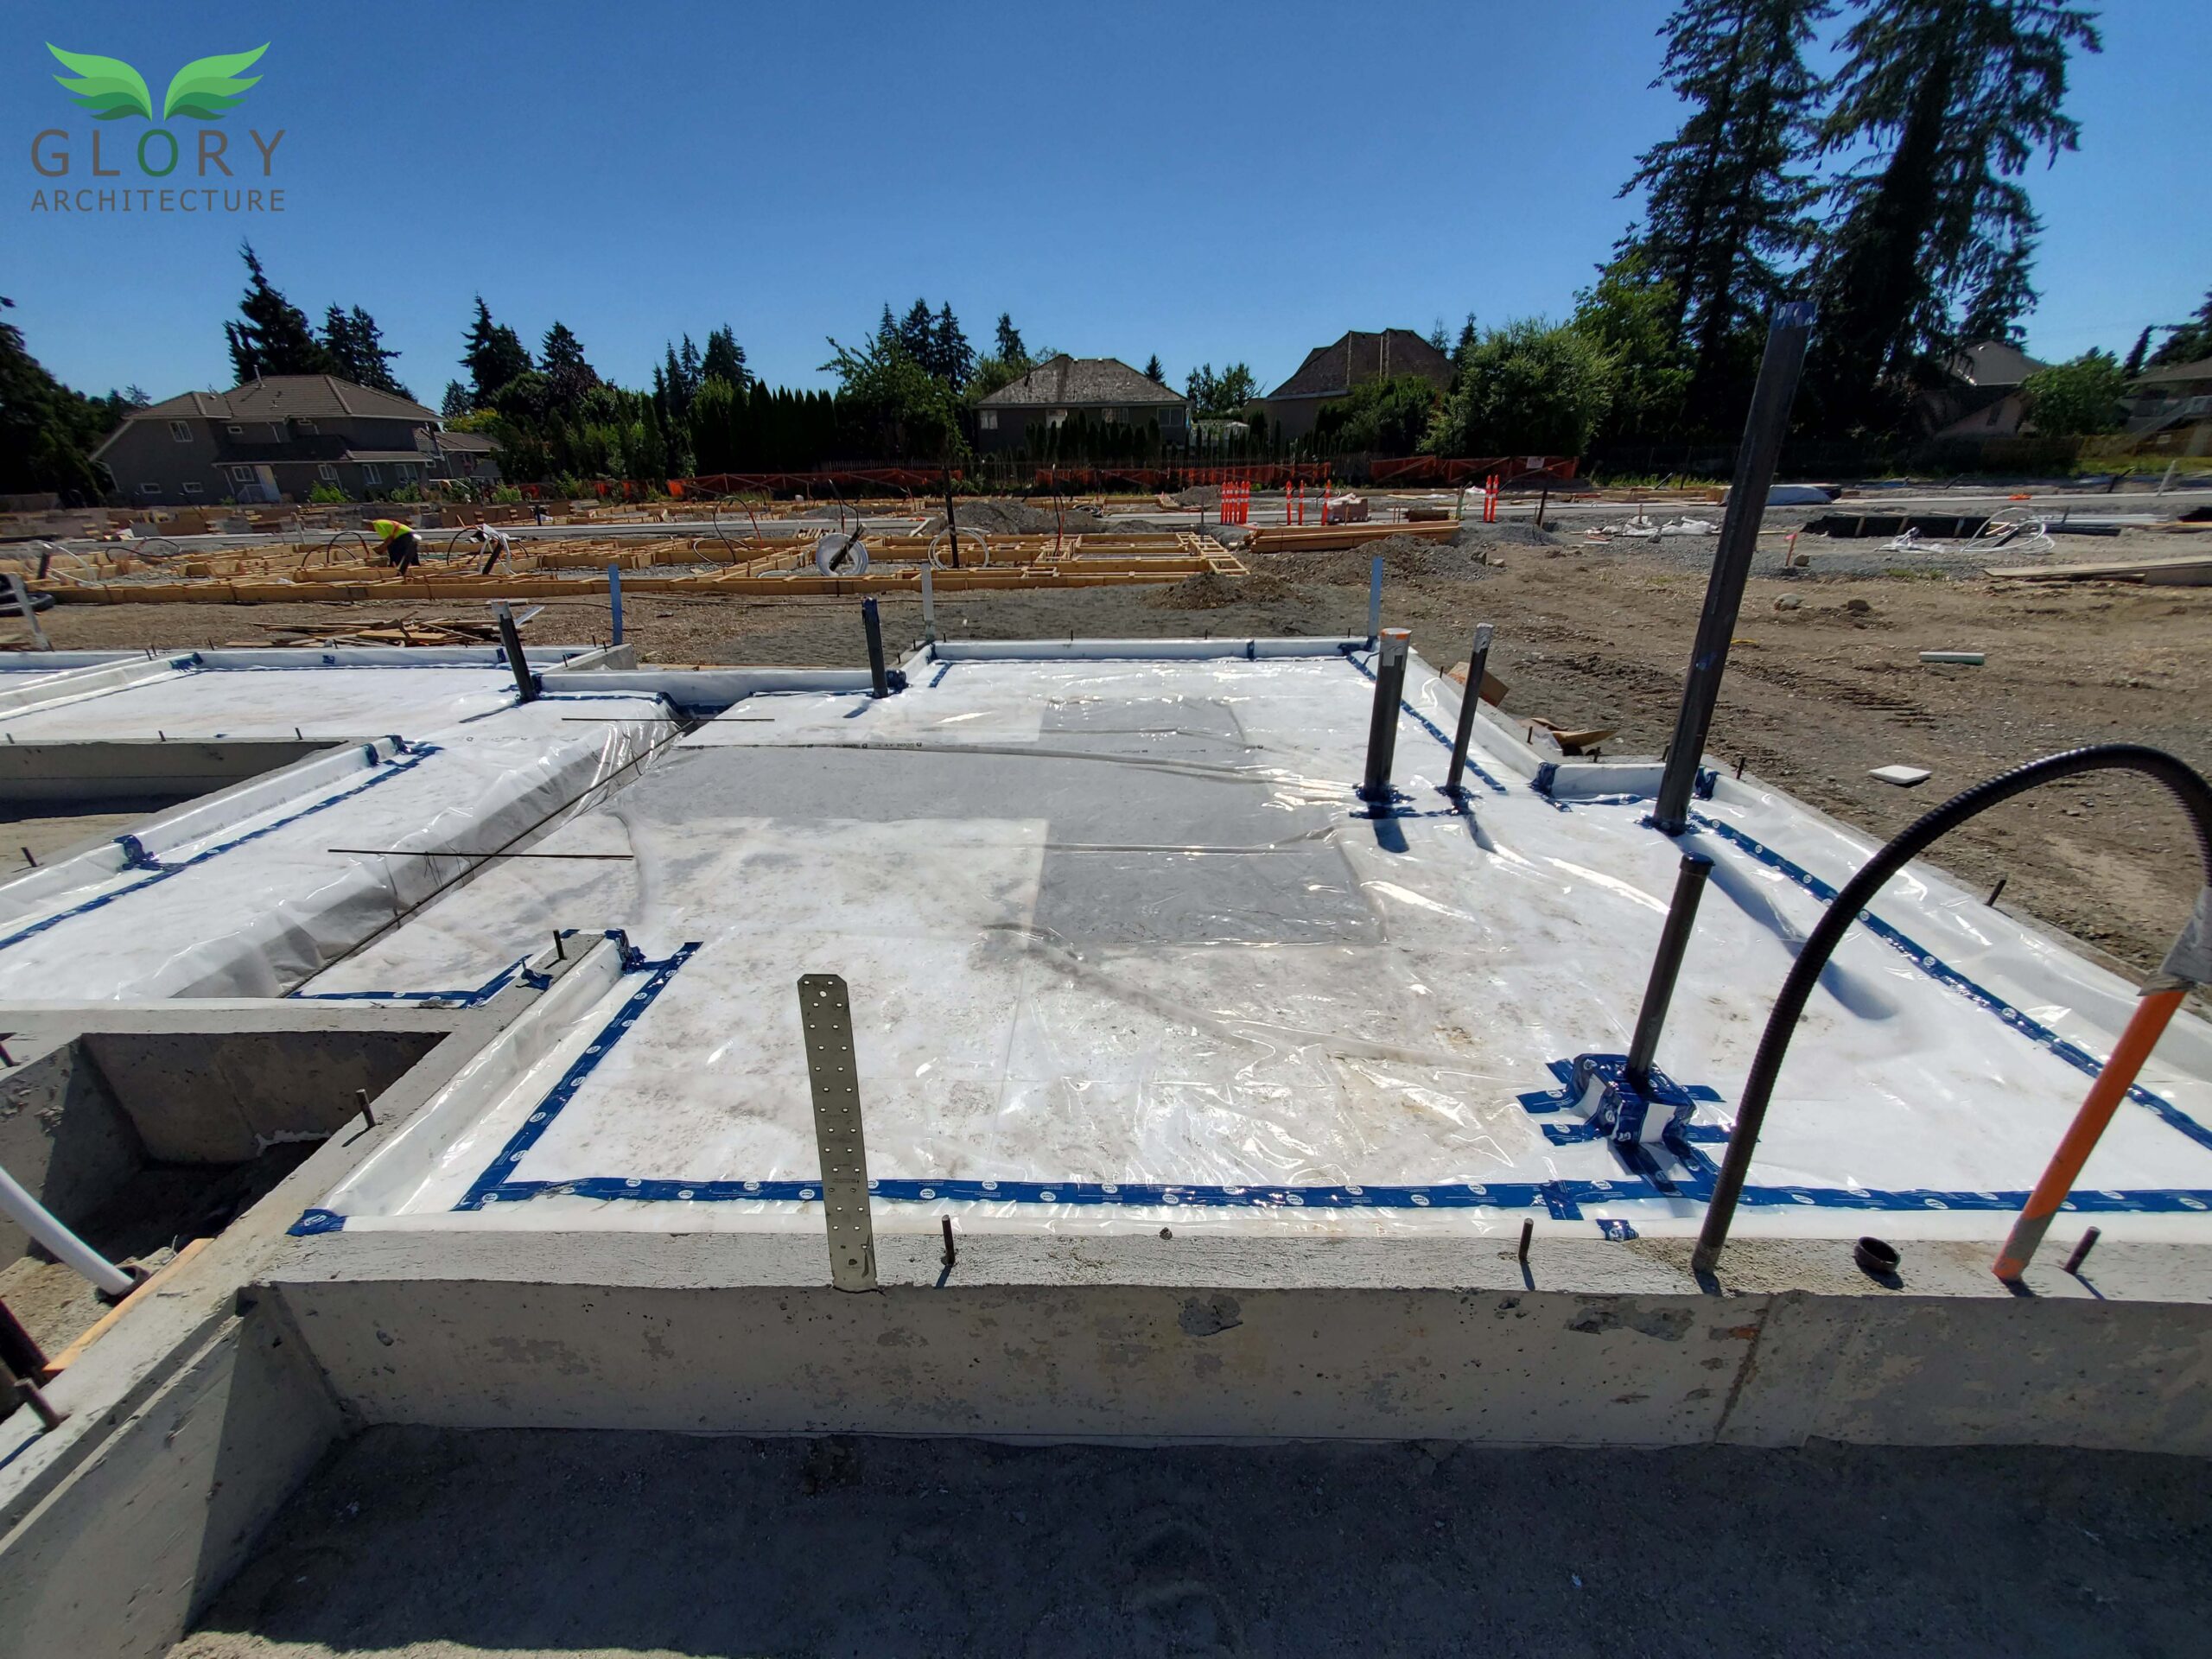
The concrete trucks are lined up down the street. The contractor is checking their watch, eager to start the pour. This is the moment of truth for a Slab-on-Grade (SoG) foundation.
Once that grey slurry hits the ground, critical building envelope components are buried forever. As the architect of record, your field review at this specific juncture is arguably one of the most important site visits of the entire project. You aren’t just checking boxes; you are ensuring future thermal comfort, preventing catastrophic moisture failure, and mitigating long-term health risks (radon) for the occupants.
This post focuses on the critical “hidden” layers of a BCBC-compliant slab on grade: the insulation, the vapour barrier, and the crucial radon mitigation rough-in.
The Thermal Break: Under-Slab Insulation
In British Columbia’s varied climate zones, under-slab insulation isn’t just a “nice to have”—it’s a code mandate for energy efficiency (BCBC Part 9.36 or Step Code metrics).
What the Architect Must Review:
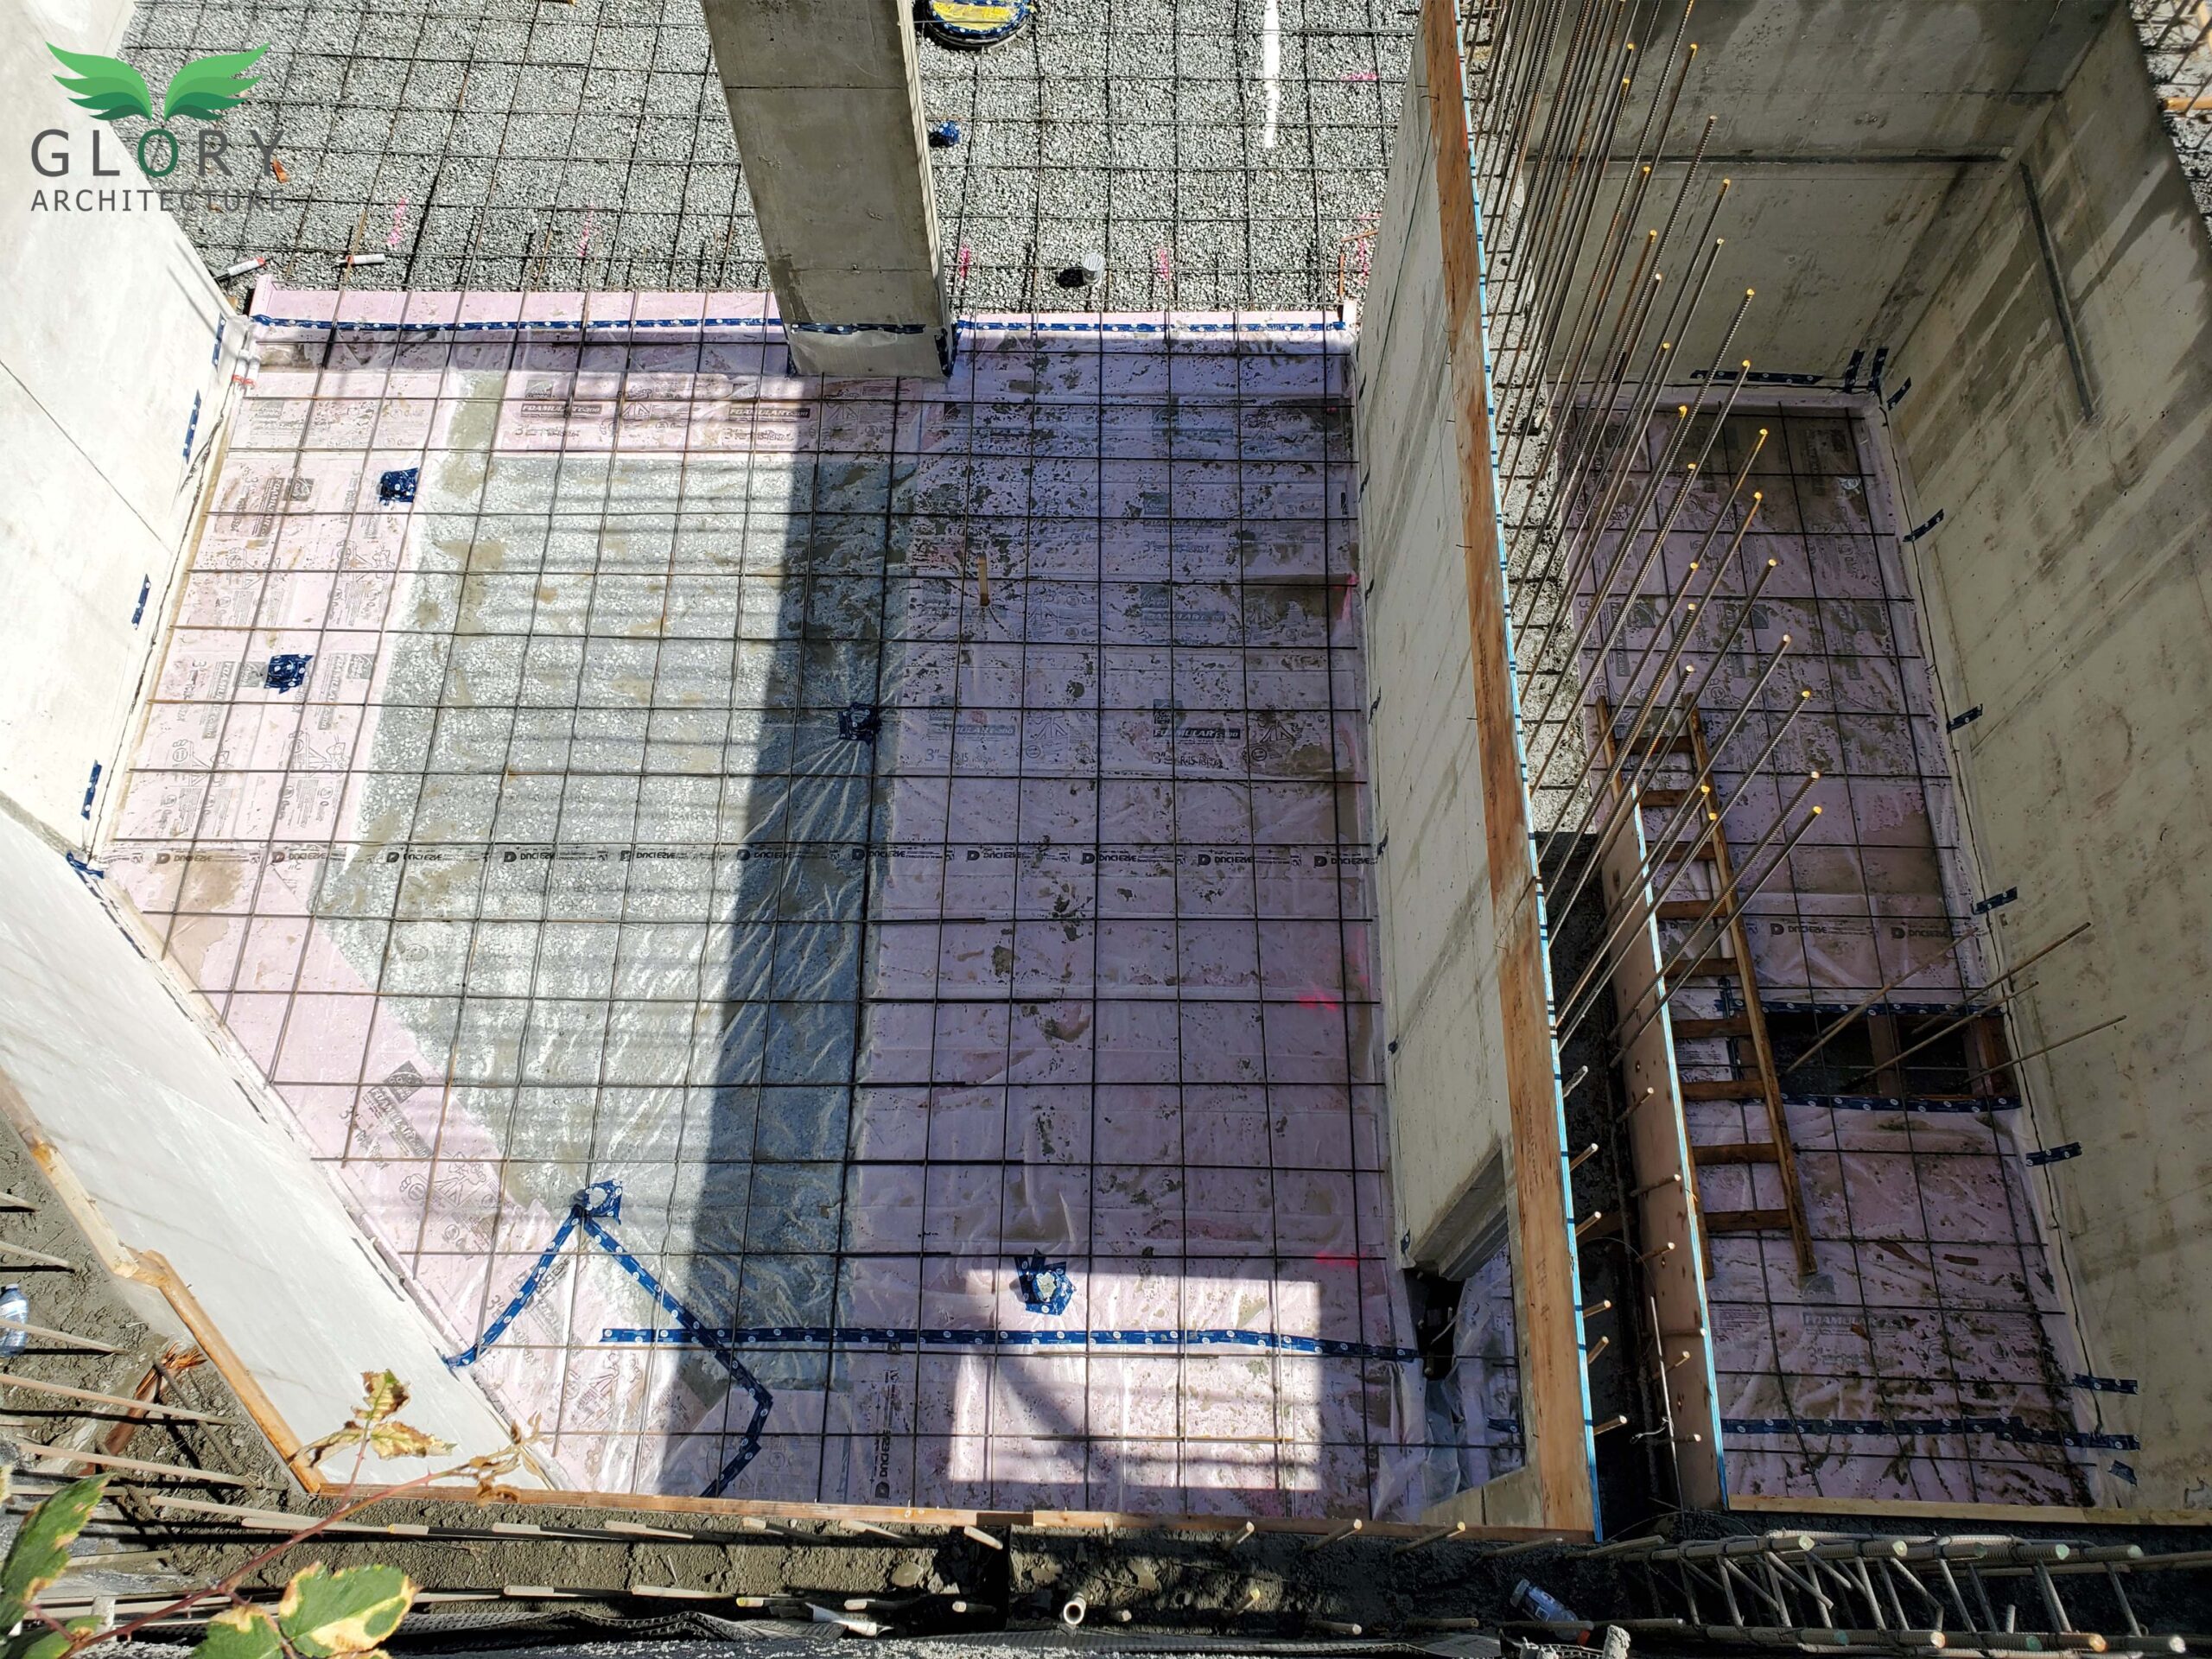
- Conformance with Drawings: Never assume. Does the installed product match the spec? If the energy model demands R-15, ensure R-5 isn’t on site.
- Material Suitability: Ensure the insulation is rated for below-grade, load-bearing applications.
- Typical Example: Extruded Polystyrene (XPS – often blue or pink) or high-density Expanded Polystyrene (EPS – white, often Type 2 or 3) are standard. They resist moisture absorption better than standard EPS.
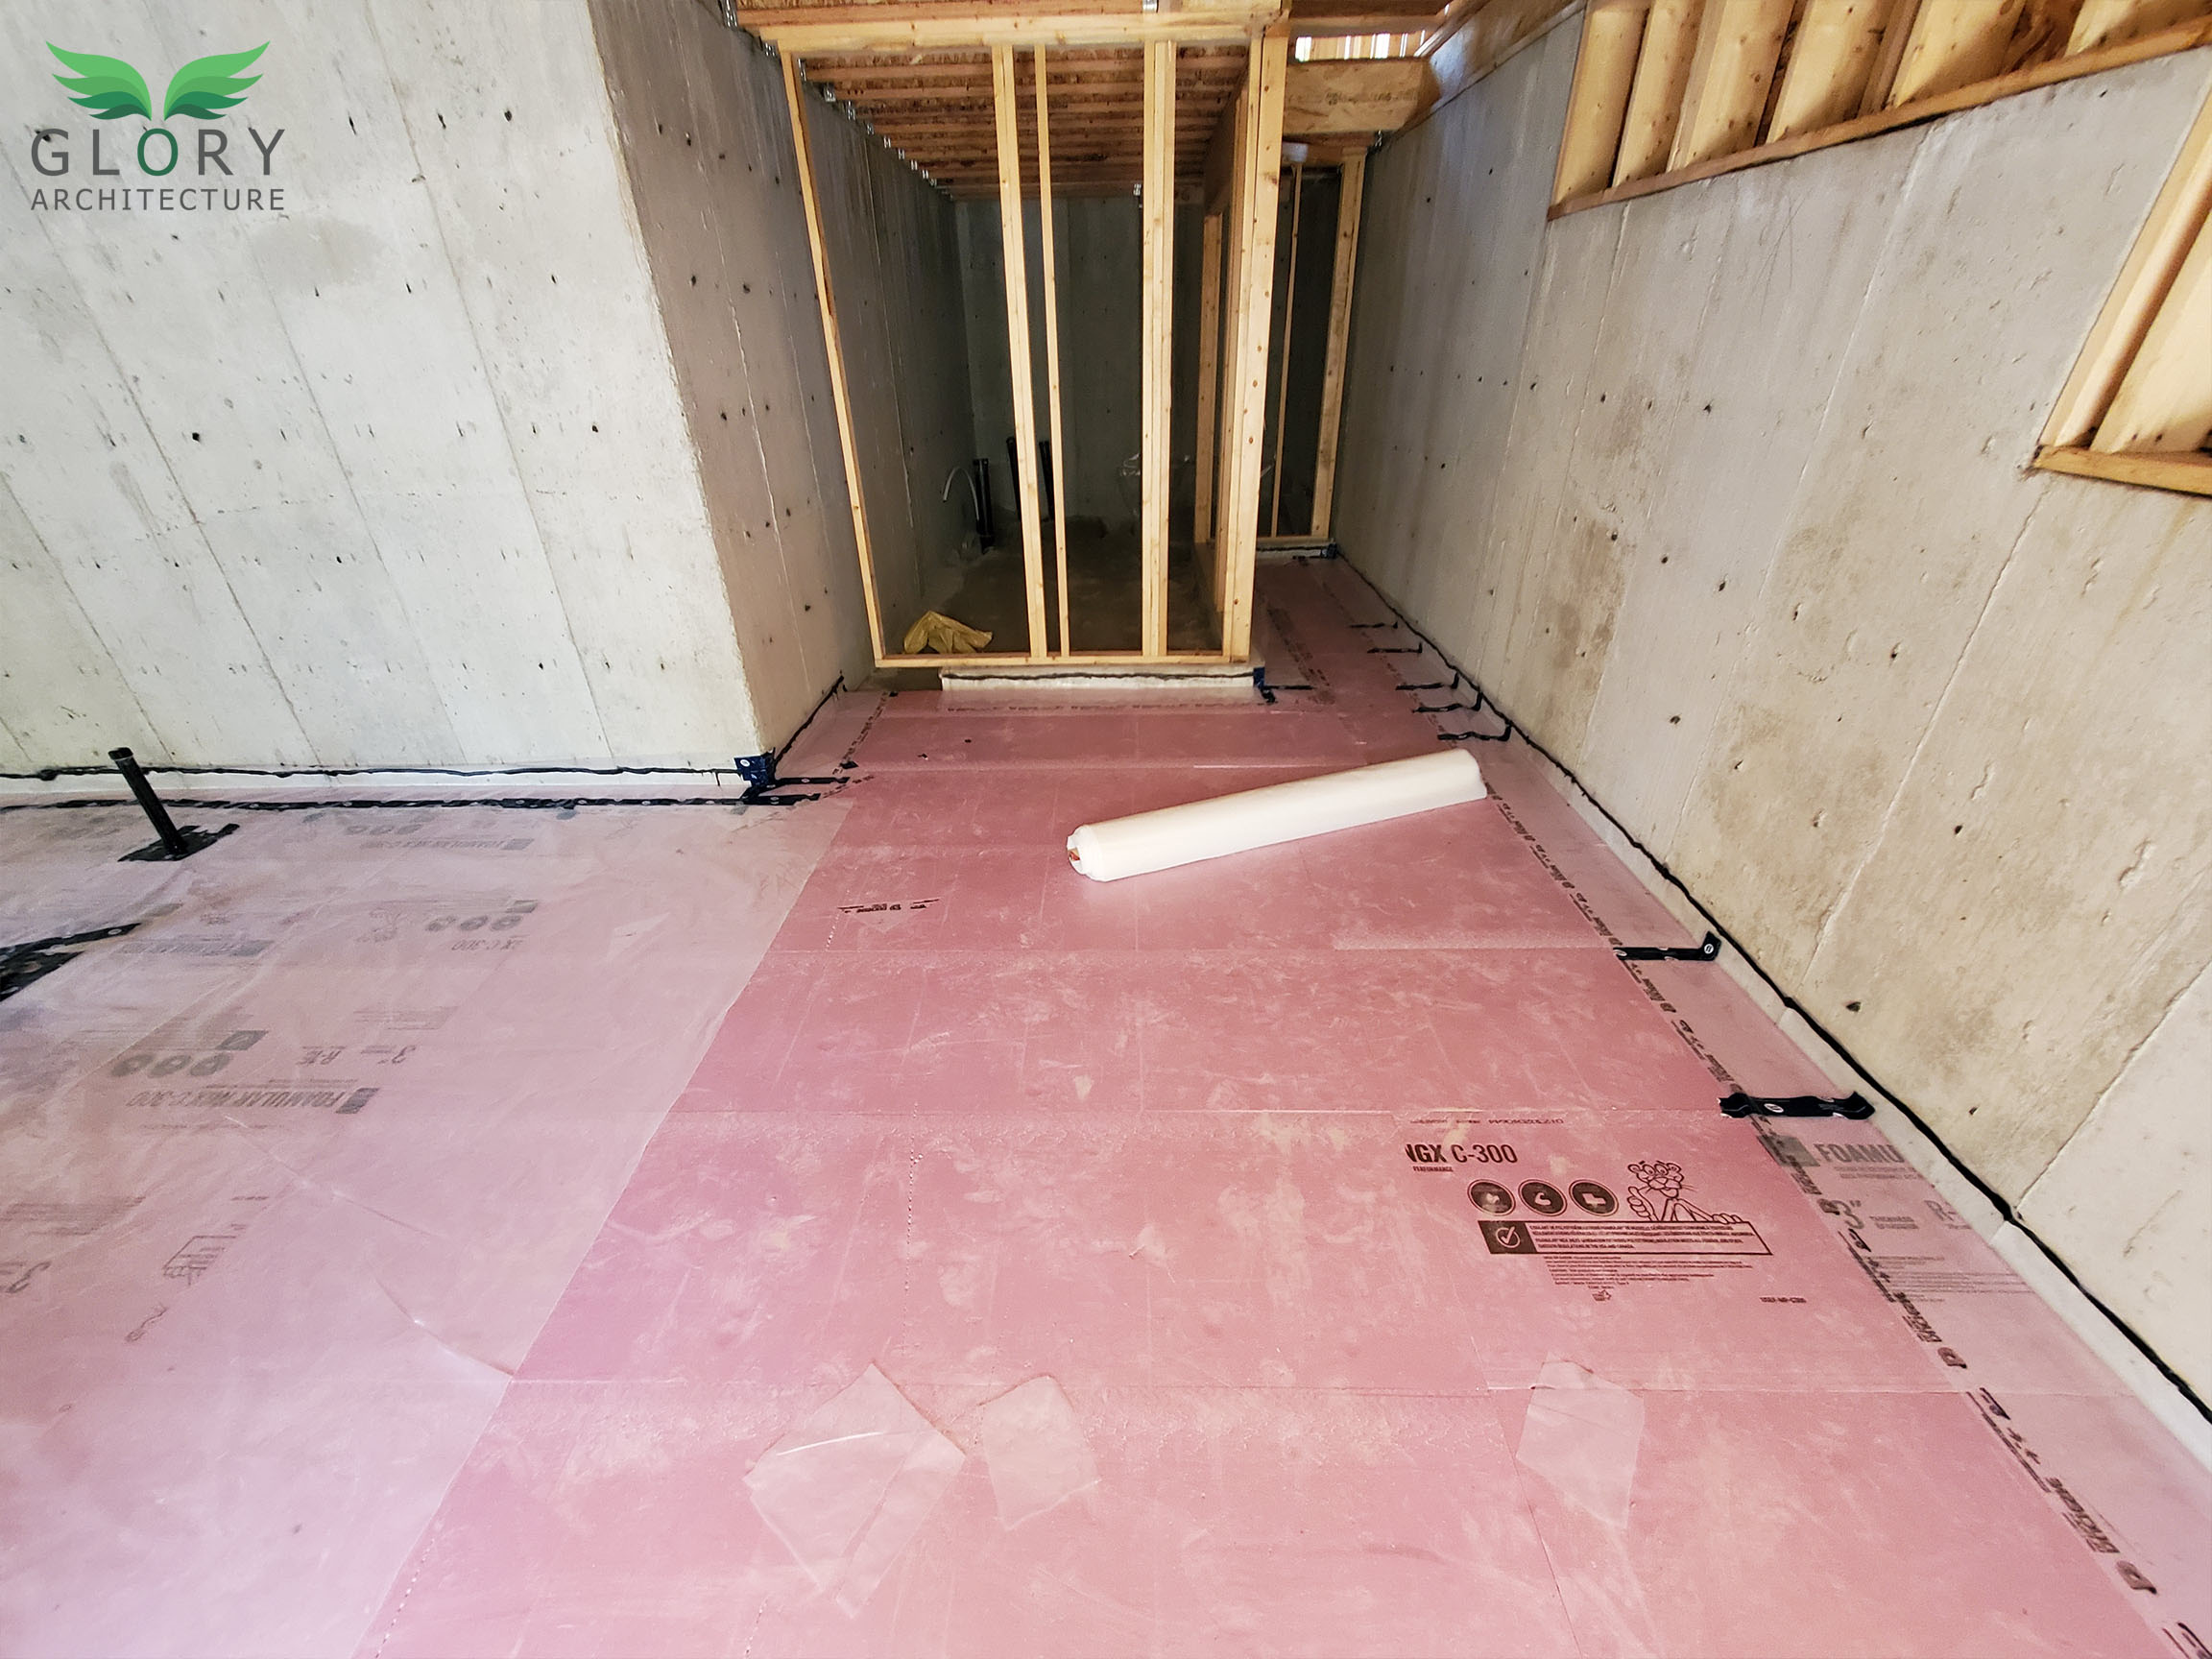
- Continuity is King: The goal is a monolithic thermal layer.
- Look for tight butt joints between sheets. Gaps larger than a few millimeters should be filled with spray foam.
- Verify thermal bridging is minimized at thickened slab edges or interior footings. The insulation should wrap these elements as detailed in your drawings.
- Damage Control: Crushed boards from heavy foot traffic reduce R-value. Significant damage must be replaced before the pour.
Field Note Example: On a recent heated residential slab in Climate Zone 4, our drawings specified R-12 XPS (typically 2.5 inches) under the entire slab area. During review, we ensured the perimeter insulation met the underside of the slab insulation seamlessly to prevent a cold rim effect.
The Moisture Defence: Poly Vapour Barrier
The polyethylene sheet under the slab is the primary defense against ground moisture migration (vapor diffusion and capillary action). If this layer fails, the homeowner faces damp concrete, ruined flooring finishes, and potential mold growth.
What the Architect Must Review:
- Thickness and Type: BCBC typically requires a minimum 6 mil (0.15 mm) polyethylene conforming to CAN/CGSB-51.34-M. Don’t accept thin, generic painters’ plastic.
- Lapping and Sealing: This is the most common failure point.
- Joints must be lapped by at least 100mm (4 inches)—preferably more—and sealed with appropriate acoustic sealant or manufacturer-approved tape. A loose overlap is not a seal.
- Perimeter Detailing: The poly must be turned up at the foundation walls to eventually tie into the wall air/vapour barrier system.
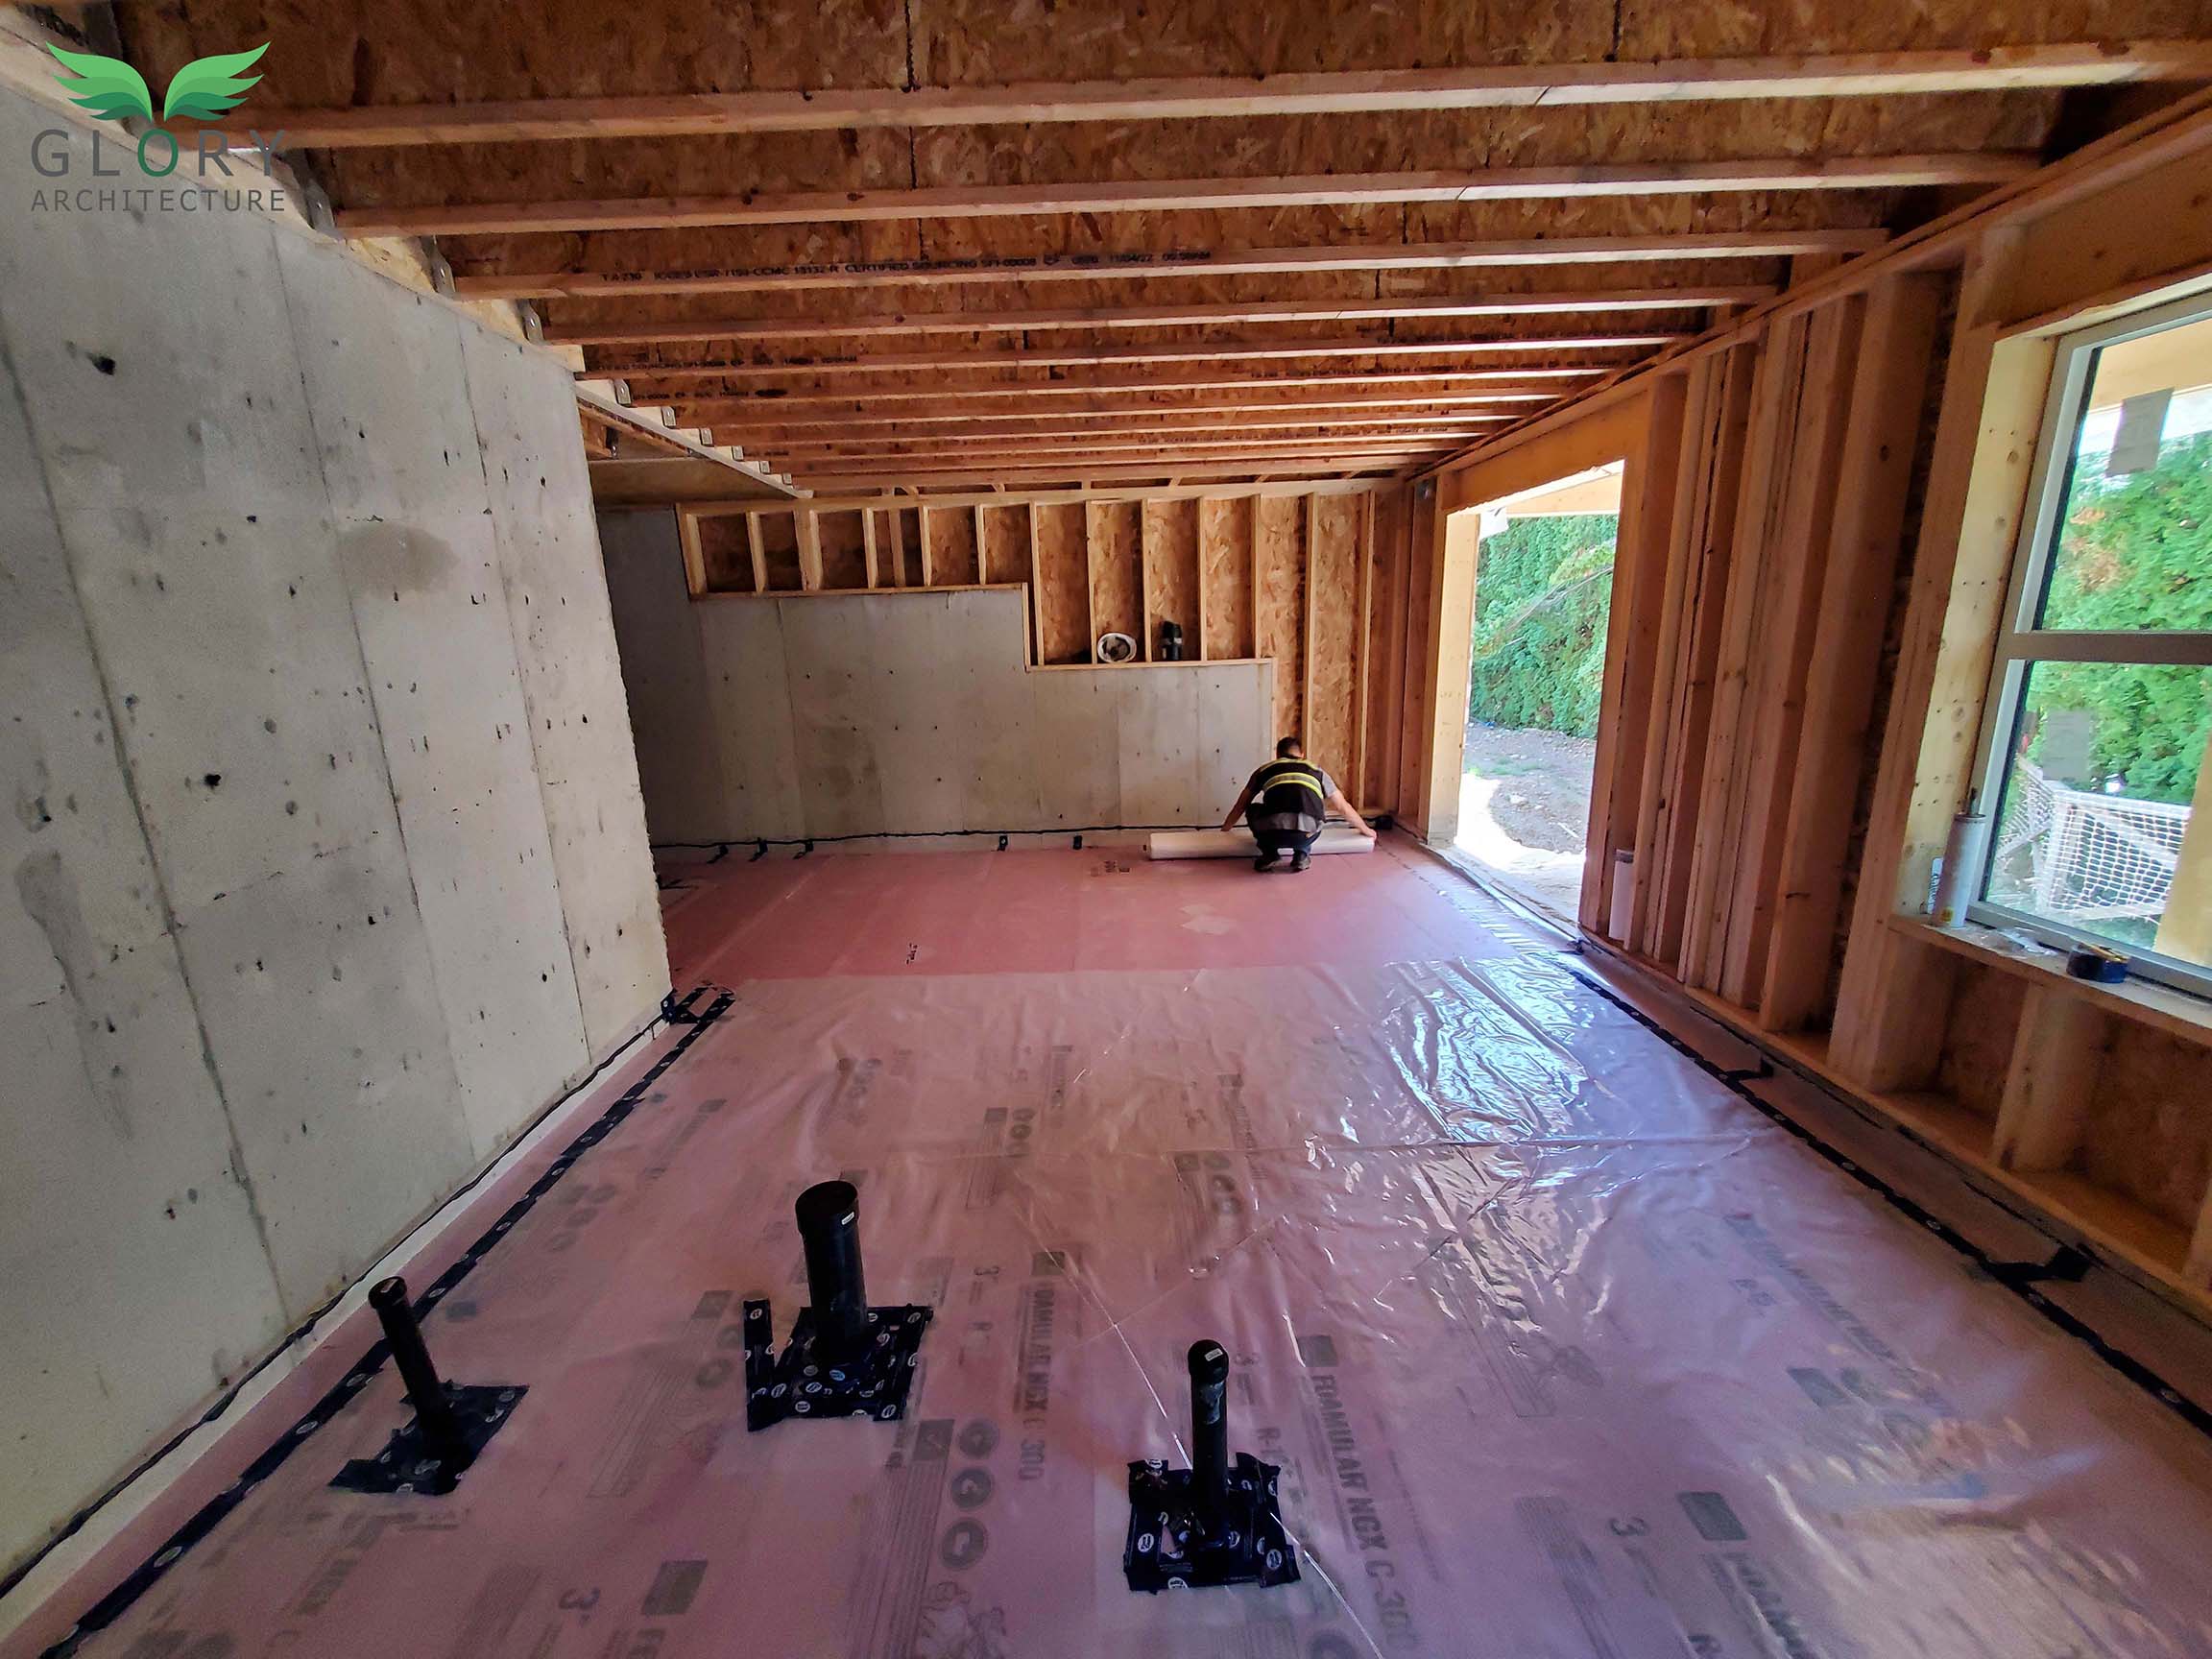
- Penetrations (The Critical Check): Every pipe, conduit, or wire poking through the poly is a potential geyser for ground moisture.
- Do not accept ragged cuts sealed with duct tape.
- Insist on proper detailing: This usually involves acoustical sealant around the pipe base, followed by a tight “boot” made of poly taped securely to both the pipe and the main sheet.
The Silent Hazard: BCBC Radon Rough-in Requirements
British Columbia has significant radon hotspots. The 2024 BC Building Code updates have made radon rough-ins mandatory province-wide for new residential conditioned spaces. This system is vital for occupant health.
The Radon Rough-In Concept: You are creating a passive stack that allows soil gases to find the path of least resistance out of the house, rather than accumulating inside.
What the Architect Must Review:
- The Gas Permeable Layer: Below the insulation and poly, there must be a layer of clean, coarse granular material (usually roughly 4” thick). This allows gas to move freely to the collection point.
- The Collection “Pit”: Near the center of the slab, locate the suction pit. This is often a perforated bucket or a specialized plastic radon sump hub buried in the gravel layer.
- The Stub Pipe: A min. 100mm (4″) diameter PVC pipe should rise from this pit.
- The Critical Seal (Crucial Check): Where the radon stub pipe passes through the poly vapour barrier, it must be sealed perfectly (just like plumbing penetrations). If this seal is broken, the radon system will actually pull soil gases into the home.
- Terminations: Ensure the pipe is capped and clearly labelled “RADON ROUGH-IN” so a future plumber doesn’t accidentally connect a toilet to it.
image credit: City of Burnaby
Typical Radon Rough-In Detail
Below is a simplified sketch of what you should expect to see in section view during your review.
image credit: City of Burnaby
The Final Word Before the Pour
A missed lap in the poly or a gap in the insulation seems minor on a sunny Tuesday morning site visit. But once five inches of concrete cures over it, that mistake is permanent.
Don’t let site pressure rush your review. If the penetrations aren’t sealed, stop the pour. If the insulation is gapped, make them tape it. As the architect, you are the final gatekeeper of quality before the permanent structure begins.
Disclaimer
The information presented in this blog is for general educational and informational purposes only. It is designed to provide an overview of architectural field reviews. This content is not exhaustive and should not be considered professional architectural advice, specific design guidance, or a substitute for expert consultation. Building codes, regulations, and construction techniques are subject to change and specific interpretation based on project conditions. Glory Architecture Inc., its principals, and affiliates shall not be held liable for any decisions, actions, or omissions made in reliance on the information contained within this blog. Always seek the advice of a competent, licensed professional for your individual project needs.